Hi
I finally finished the Burda Magazine dress and I am pleased with how it turned out. I don't really like the way they have it styled in the book because that is not really how the dress will fit. When I left we were working on the shoulder and applying the band pieces. Here are a few finishing touches photos.
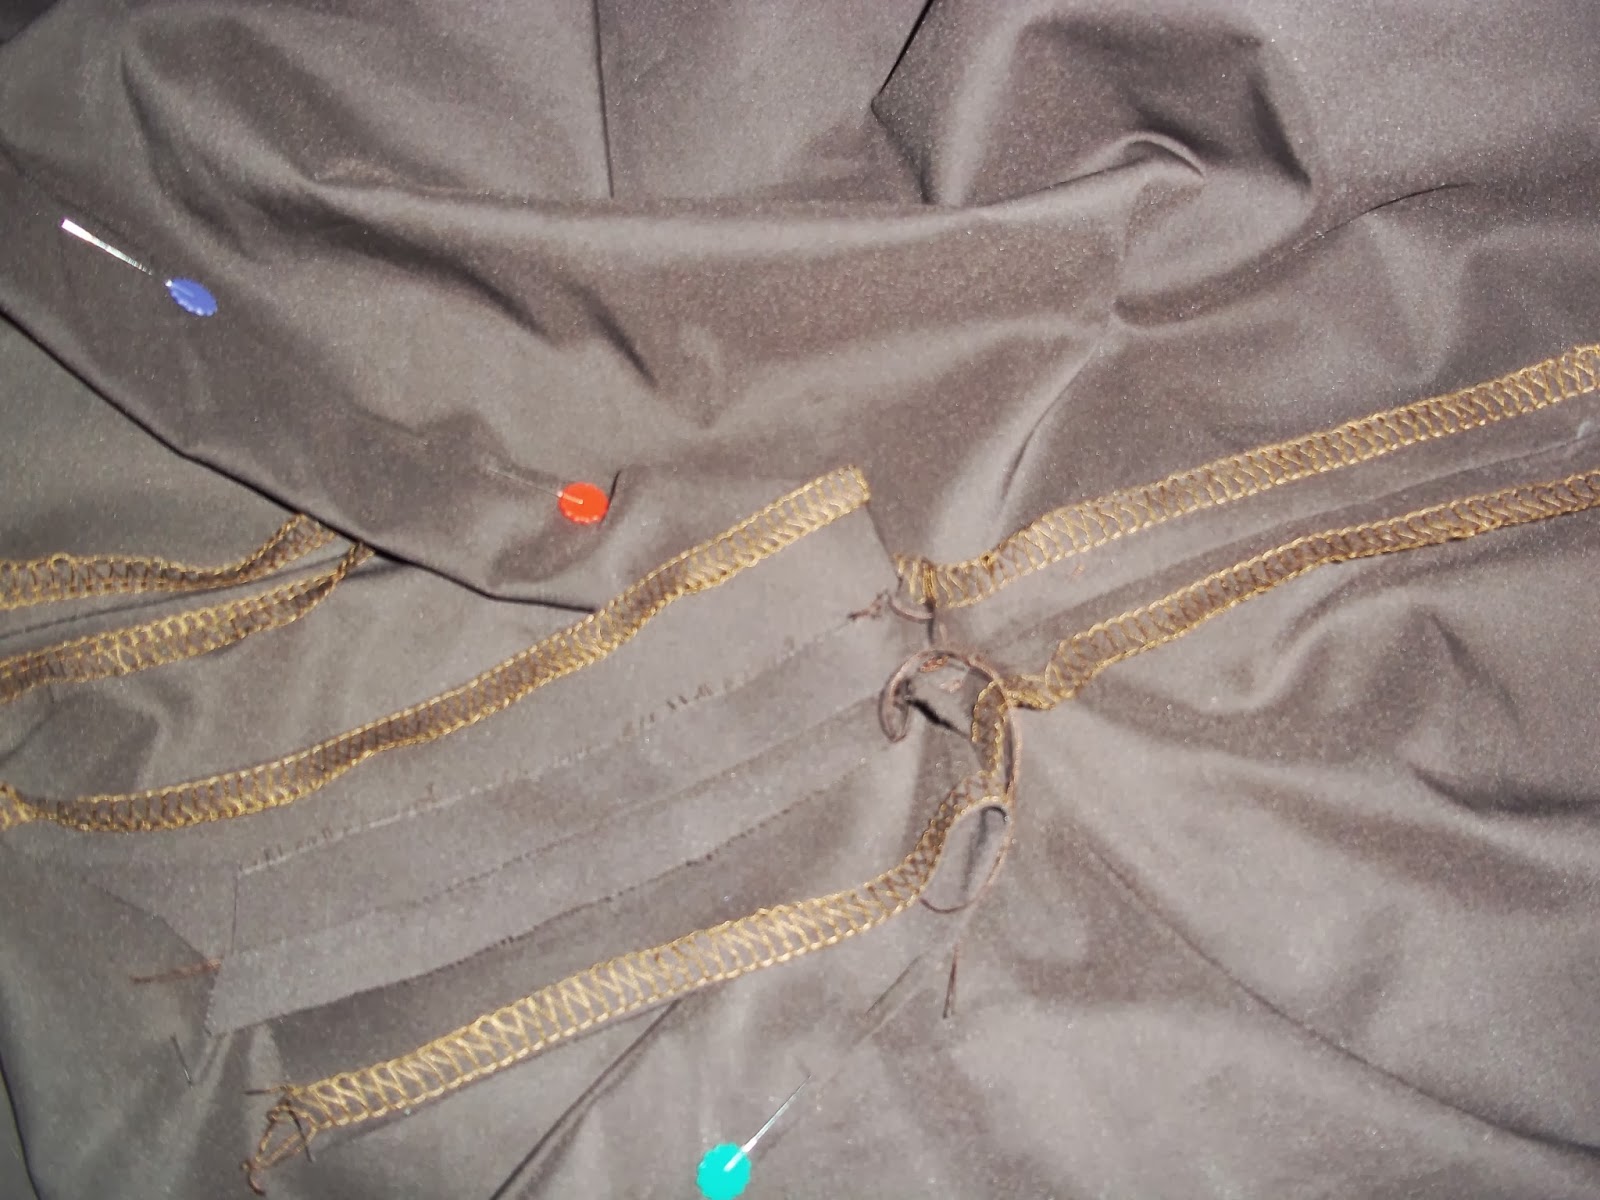 |
| The shoulders have to be joined with the wrong sides facing. I pressed the seams open and they laid together perfectly. |
 |
| Once you get the bands set, sew very close to the edge (topstitch) to finish the shoulders and the sleeve section. |
 |
| This is what the sleeve and should will look like. |
 |
| This is a fitting on Sarah. I didn't like how short it was coming up on me. Tried to think of a way to make it to where it wasn't so short. |
 |
| Styled the way is was in the article. |
Well, I didn't like it styled the way it was in the article, so I made my own style. If you go by what you see when you're finished, you might be tempted to start all over, but I wanted to see this project to the end. I am going to give it a 5 thumbs up and say I should have followed my gut and a friend on the color. Any way, here's how I will be wearing it in the future.
Shoes are from Cicihot.com, jewelry is something from my closet.
I am happy that I went with this pattern. I did have to make a few alterations on the sides of the skirt once I got is put together. The only thing I did was tighten it so that it would fit the way it does in the magazine photos. I used silk fabric and as an after thought I believe this dress would have done more of what I wanted if I had chosen a knit fabric and another color (LOL). However, I still like this one and I can see another one in the future.
Thanks for stopping by. Until next time, here I am acting up with my camera guy (my son) dancing to Brittney Spears "Give Me More".
 |
| My best Brittney impersonation. |

LOLPOH
,
Dellia


 Well, I didn't like it styled the way it was in the article, so I made my own style. If you go by what you see when you're finished, you might be tempted to start all over, but I wanted to see this project to the end. I am going to give it a 5 thumbs up and say I should have followed my gut and a friend on the color. Any way, here's how I will be wearing it in the future.


Comments
Post a Comment