Hi
Yesterday was full of excitement, fun, fireworks, and barbecues. Happy belated 4th of July to all of you. I didn't get the opportunity to convey my desires for a safe and happy holiday before leaving home, so I am sending you a little something to let you know that I am still thinking of you, even while I am basking in the wonderful love of my Mom.
Today I have a McCall's pattern that addresses the need for a perfect "Maxi" dress. Before I left home Joann's was having a 5/5.00 sale on McCall's patterns. I had been trying to decide between
McCall's 6744 and
McCall's 6700 long before the sale started, but was unable to decide between the two until I got to the sale. I noticed that both patterns we different in the bodice, but basically had the same skirt with the elastic waste detail and an optional self belt for M6700. During my search for a Maxi dress I found similar Maxi's that I liked, but was not ready to commit to at
JcPenny,
Nordstrom, and
Belk. The price of some of the Maxi's had a very strong weight with my decision. I know that with the dresses that are less expensive the material used to construct the garment would be less than desirable and I really can't see myself paying over $100 for a dress with the quality and construction that I want. So, my decision was to go with make it myself.
While I was in Joann's, loading up on my pattern stash, I chose M6700 for my dress. I read over the pattern and liked the shoulder detail that suited me to a sharp T. I browsed through the knit fabrics and couldn't seem to find anything that I wanted until I found this piece of polyester chiffon.
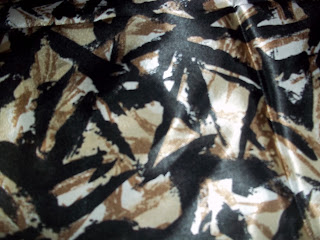 |
| I know the pattern called for knit, but this piece of fabric was similar to the cover dress and I just had to have it. |
The following pictures are a timeline of the construction that I took according to the instructions ( tutorial). If you have this pattern they should assist you in achieving the desired look.
 |
| The first thing is to connect the front to the back. (picture on the left) |
 |
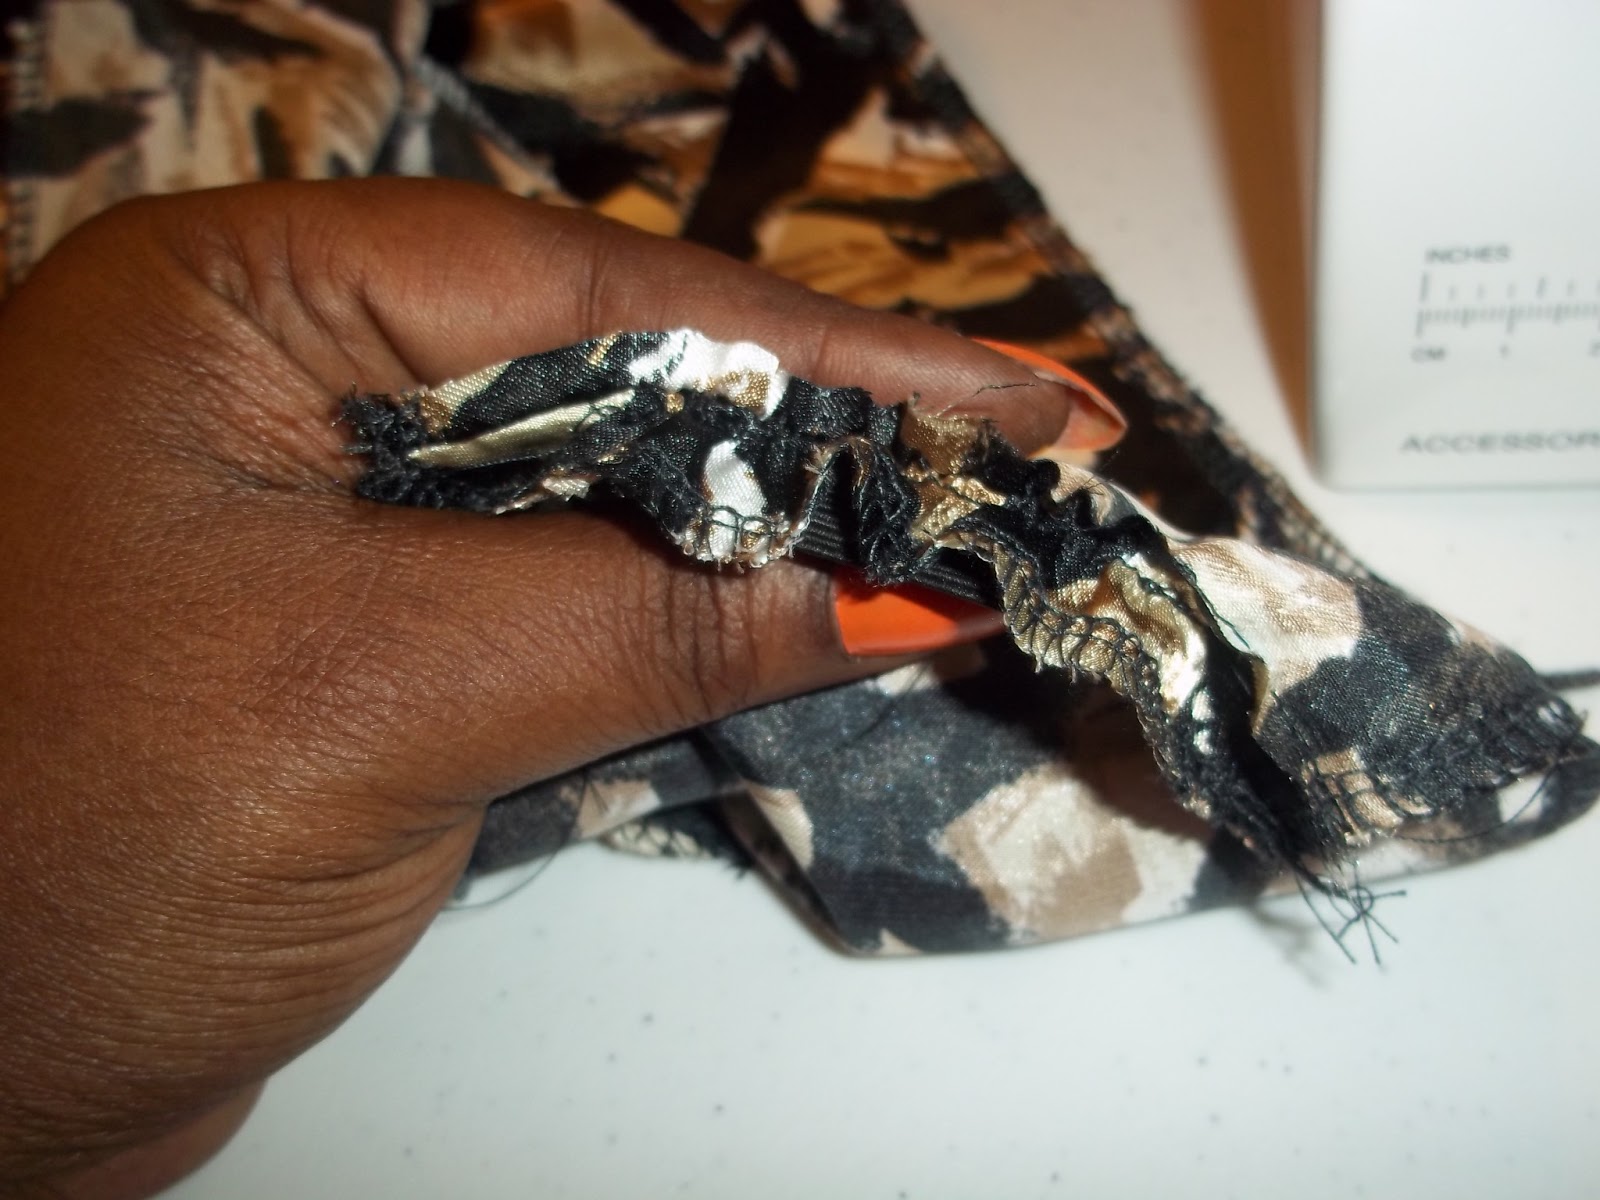
| Then attach the elastic from the elastic guide piece to the inside of the Front bodice piece beginning from the seam allowance stitch. Sew from the arrow to the dot (traced during cutting) |
 |
Then trim (close to the seam, but not directly on the seam). There are actually 2 ways of attaching the elastic.
1- attach it to the back bodice seam, trim the front bodice seam allowance, then take the back seam allowance, fold it over toward the front. This would bring the ruched part to the front of the dress or
2- as the pattern suggest..fold it to the back (which I did) and leave all work exposed.. I prefer choice 1, but did not follow instincts because this was my first shot at this pattern. |
 |
| Trim excess elastic. |
 |
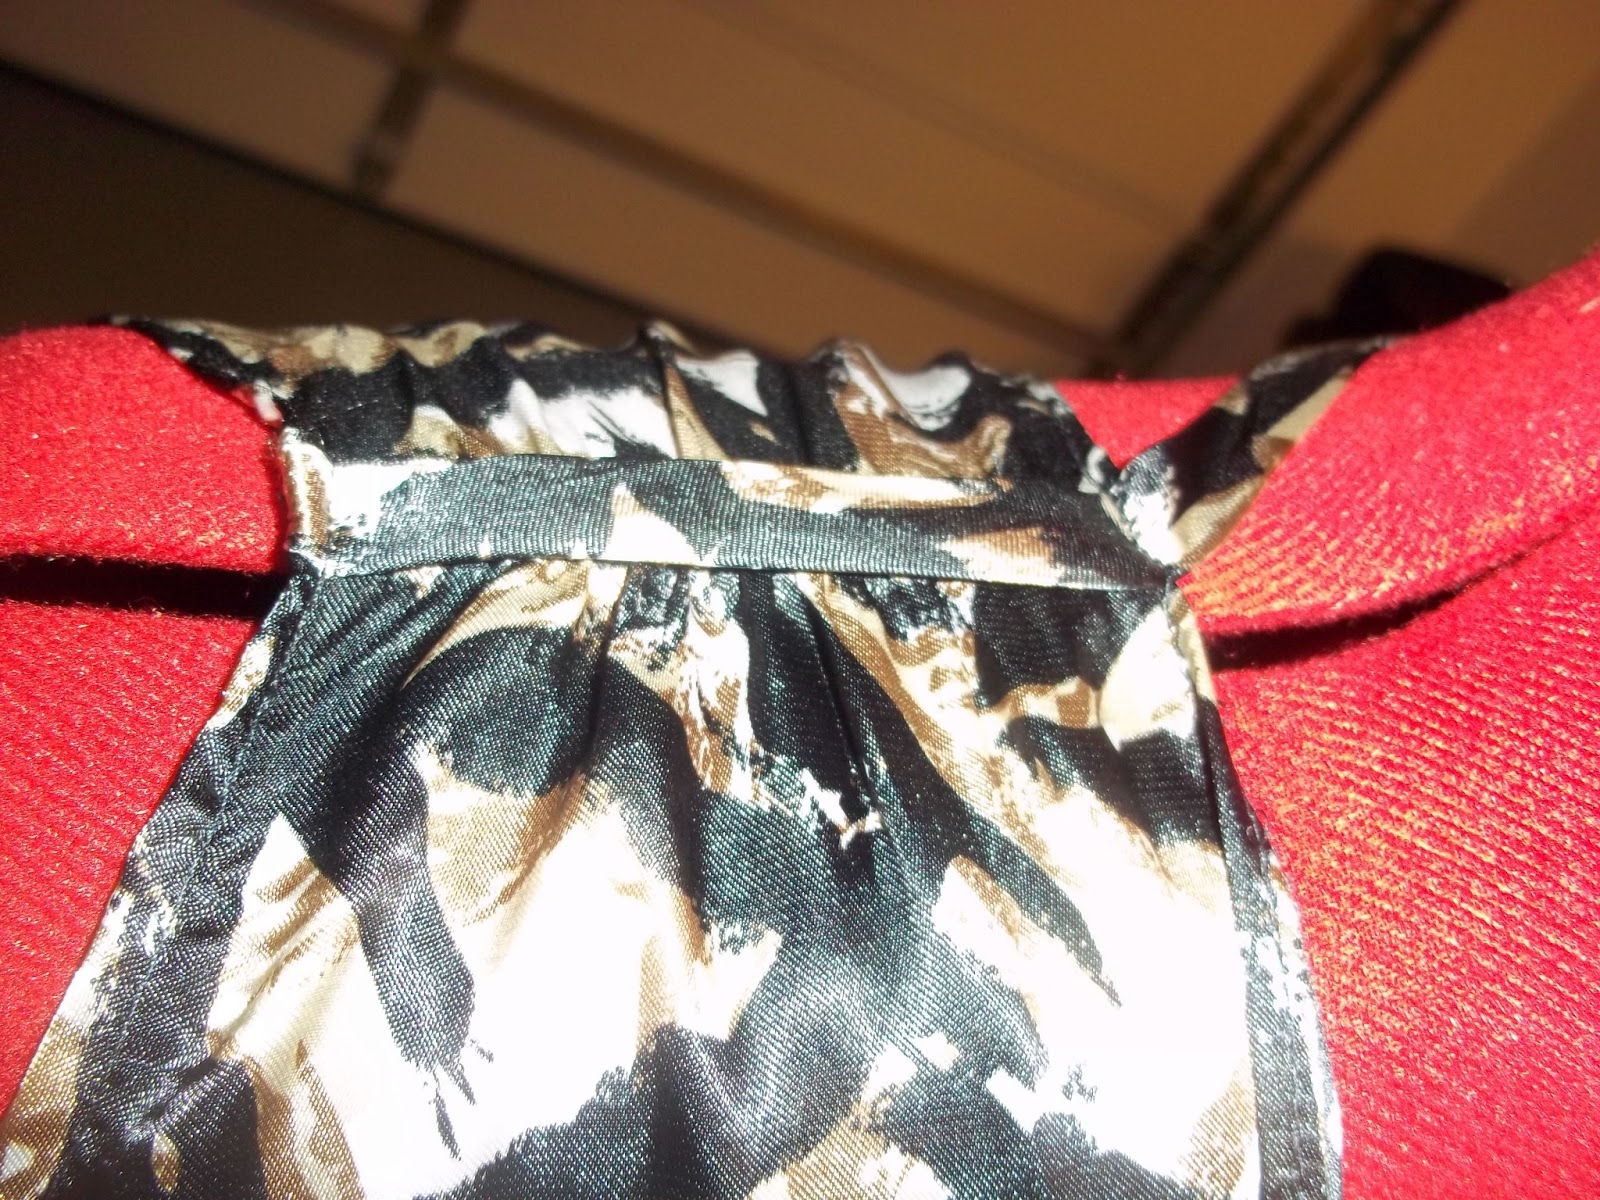
| From the unfinished shoulder edge attach the tie strap (made from pattern step 6) Then hem the bodice front and armhole edges. When you are hemming the edges, fold the tie across the elastic ruching and stitch it as you hem the front and the back bodice pieces. This secures the tie in place. Join the side seams together and press seams open if you are using a straight stitch machine. |
 |
| This is what it should look like if your elastic is going toward the back, but I believe you will get more gathers if you set the elastic to the inside of the back seam allowance then sew the allowance forward. |
 |
| Once you have the shoulders finished, it's time to connect the bodice to the skirt. Take the 2 front bodice pieces and line the darts up. In the transfer of lines for the bodice, the center line should be traced as well to help keep the fabric and darts from being off centered. This line IS important, so don't skip it. Baste stitch to hold both pieces together ( the 2 front pieces and the 2 back pieces). |
Once you have fully constructed the top part of the dress, it's time for the bottom (skirt). I didn't take pictures of this part because it is very self explanatory and the illustration is great. I am going to make adjustments because my fabric is chiffon and not knit. The side seams are suppose to be double stitched. This is a stabilizing process for knits. If you are using knit fabric,,please follow the instructions on that process. Now, onto connecting the top to the bottom.
 |
| Once you have sewn the bodice to the bottom (using 1-1/4 in seam pattern step 16). Press the seam allowance going upward (away from the skirt). Trim close to the seam on the skirt side of the fabric. When that is done take the bodice part and fold under a small portion (1/4 in.) of the bodice side to begin forming the casing for your elastic. Pinning and marking is useful here. This helps to ensure and even seam all the way around the waist. Leave a small opening for your elastic. Insert your elastic (pattern step 17 &18) Finish off with bottom hem and you're done.....Unless you don't like sewing thread loops (you're going to have to inquire to find the answer to that pause). |
 |
| Finished look for M6700 in Poly/Chiffon |
I had a lot of fun making this dress. My Mom was on hand for some seriously wanted critiquing and support, I could tell that she really wanted to sit down at the helm, but she graciously conceded her seat and left me to my own devises. When we met up at Grandmother's house the first thing she asked me was weather I had finished the dress. Here are a few photos to see how it looks on.
 |
| My Mom helping me with wardrobe Me, Gone with the Wind Fabulous |
Well, this ends this tutorial and photo shoot. My review of the pattern will be in an update later. I hope you enjoyed the sew along tutorial and I look forward to doing another one with you soon.
LOLPOH,,,,Dellia


Thanks for sharing the tutorial. I might try this. You look great and I love your dress.
ReplyDeleteThank you L. I'm glad you liked it. Let me know if I can assist in any way. Have a great evening.
DeleteLove your new maxi, Dellia. The print is just about the same as the one on the model.
ReplyDeleteThank you Scheryka, I love yours too. Congrats to the Graduate and to you.
ReplyDeleteYou look gorgeous in your sleek dress!
ReplyDeleteThank you Heather,,I love your site (Sewspicious Minds)..You give me energy.
DeleteBeautiful maxi dress and the print is lovely. Thank you so much for the pictures and suggestions on construction.
ReplyDeleteThank you for stopping by and you are very welcome...LOLPOH
Delete